
One-Piece Bathtub Cleaning: How to Clean Without Scratching the Surface
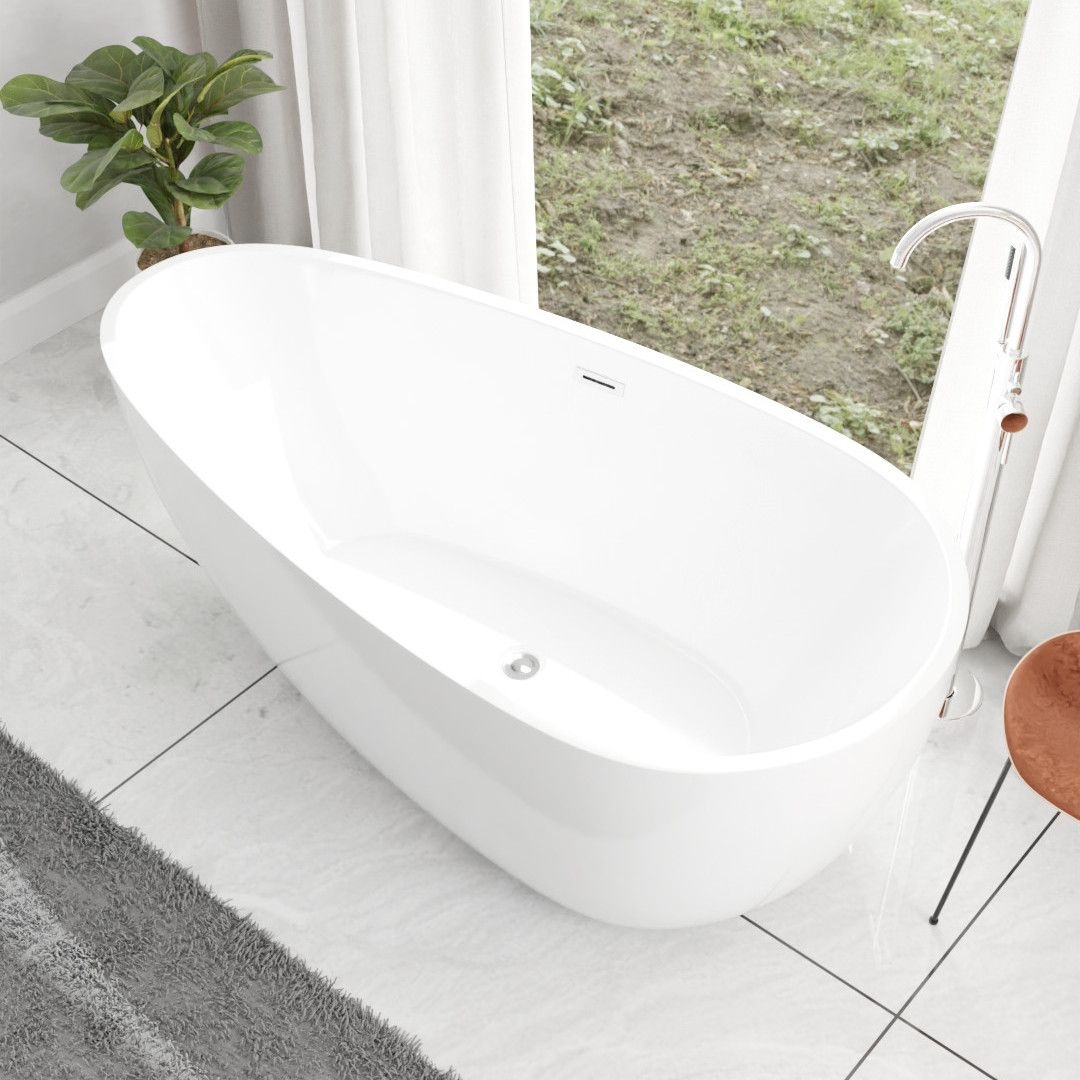
A one-piece bathtub looks like the easiest thing in a bathroom to keep clean. No grout lines, no tile joints, no caulked corners where grime settles in. That seamless shell is also why the finish gets ruined so quickly. The glossy layer sits on top as a finished surface, and once it is scratched there is nothing underneath to polish back.
The safest way to clean a one-piece bathtub is warm water, a pH-neutral liquid soap or a cleaner made for acrylic, and a soft microfiber cloth. Rinse the shell, let the cleaner sit for a few minutes, wipe from the rim downward, then rinse again and dry. Most scratches do not come from the dirt. They come from the powder or the pad used to remove it.
Why the surface marks so easily
Most one-piece bathtubs are built from one of three materials, and each responds differently to cleaning.
Acrylic tubs start as a sheet that is heated and vacuum-drawn over a mold, then reinforced from behind with fiberglass. The visible layer is acrylic all the way through, so the color is not a coating that can wear off. It is also softer than ceramic or glass, and a green scouring pad leaves fine marks that a fingernail catches on.
Gelcoat tubs carry a sprayed resin layer that cures into a hard, glossy skin. Gelcoat resists a single pass better than acrylic, but it is more brittle. Abrasive cleaners do not gouge it in one go; they shave away the gloss a little at a time until the surface turns chalky. That chalkiness gets mistaken for soap scum, the owner scrubs harder, and the cycle speeds up.
Solid surface and cast resin tubs sit between the two. They handle light abrasion better and fine scratches can be wet-sanded out, but they still respond best to a gentle routine.
What all three share is a low tolerance for grit, alkaline powder, and hard edges. Anything that cuts faster than the film you are lifting will cut the tub instead.
Cleaners that damage the finish
Powdered cleansers cause most of the damage seen on acrylic and gelcoat tubs. They clean purely by abrasion, and on a glossy shell that becomes a haze of fine scratches. The tub then looks permanently dirty no matter how thoroughly it has been washed.
Steel wool and brass wool should stay out of the bathroom. Steel fibers break off and rust, leaving orange specks that are harder to remove than whatever you were cleaning.
Melamine foam sponges get recommended everywhere and they do lift soap film fast, but they work as a very fine abrasive. Pressed dry against acrylic, they dull the gloss. If you use one, soak it, use light pressure, and treat it as an occasional tool rather than a weekly habit.
Solvents are the other category to watch. Acetone, nail polish remover, paint thinner, and undiluted bleach soften and craze acrylic. A splash of full-strength bleach left on the surface for a few minutes is enough to leave a white mark that no polish will remove.
The routine that keeps the gloss intact
Frequency matters more than force. A tub wiped twice a week needs almost no scrubbing; one scrubbed hard monthly never really recovers.
Rinse first. Warm water loosens soap film and body oil so the cloth does the work instead of your wrist. Wet the whole shell with a handheld shower head or a bucket, starting at the rim.
Apply a pH-neutral cleaner. Diluted dish soap handles most weekly cleaning. For heavier buildup, use a cleaner labeled safe for acrylic or fiberglass and let it dwell for the time on the bottle, usually a few minutes. Dwell time does the work. Scrubbing does not.
Wipe with microfiber or the soft side of a sponge in overlapping passes, from the top down, so dirty liquid does not run across sections you have already finished. Give extra attention to the curve beneath the faucet and to any molded soap dish, where residue collects and dries into a film.
Rinse completely. Dried cleaner leaves a film that attracts dirt faster than the dirt you removed, and this is the step most people rush.
Dry with a second cloth. Drying is not just for looks. It is the most effective way to prevent hard water spotting, and on a tub this size it takes a minute.
The three stains that need chemistry
Soap scum is body oil bonded with the minerals in hard water. It is a film rather than a stain, so it responds to surfactants instead of bleach. A spray of diluted dish soap left for ten minutes softens it enough to wipe away. For stubborn patches on acrylic, a paste of baking soda and water works, but apply it with a cloth and keep the pressure light. Baking soda is a mild abrasive, so keep it as a wet paste rather than a dry sprinkle.
Hard water scale appears as a whitish crust or a ring at the waterline. It is calcium and magnesium, and acid dissolves it. White vinegar diluted at one part vinegar to three parts water, applied by laying a soaked cloth over the area for fifteen to twenty minutes, softens most scale. Rinse well afterwards. Vinegar is safe on acrylic and gelcoat, but keep it off natural stone surrounds, unsealed grout, and chrome fittings left to soak.
Rust-colored marks usually come from the water supply or from a metal object left on the shell, not from the tub itself. A paste of cream of tartar with a little hydrogen peroxide, left on the spot for half an hour, lifts most surface rust. A commercial rust remover marked safe for acrylic is also fine. Never go at it with a blade.
Mildew around the tub is a separate problem. The shell is non-porous, so mold grows on the sealant bead and on any film sitting on the surface. Clean the caulk with a diluted bleach solution applied using a cloth, never sprayed, and rinse thoroughly. If the sealant has gone black through its full thickness, no cleaner will fix it; that bead has to be cut out and replaced.
What to do once a scratch appears
Light surface marks on acrylic can usually be polished out. Wash and dry the area, then work a plastic polish or a fine automotive finishing compound over it with a soft cloth, in small circles, at low pressure. Finish with a wax or an acrylic-compatible sealant. This brings the gloss back, but it cannot replace material that has been gouged away.
Deeper scratches, the kind a fingernail catches in, are a repair job rather than a cleaning job. Acrylic repair kits are available for these. On gelcoat, a marine repair paste matched to the color fills and levels the mark. On solid surface, wet sanding through progressively finer paper followed by compounding is standard practice. All three are easier to do before the scratch fills with soap residue and starts to look darker than the surrounding shell.
After any repair, check the result with a flashlight held almost flat against the surface rather than pointed at it. Marks that vanish when viewed from above show up clearly at a low angle, which is also a quick way to see how much haze your current routine has already created.
Habits that remove most of the work
If anyone showers standing in the tub, use a non-slip mat and rinse it after every use. Grit trapped underneath grinds into the shell with every step.
Avoid suction-cup caddies and stick-on organizers on acrylic. Suction cups leave ring marks, and the adhesive removers strong enough to release a stuck-on pad will damage the surface.
Run the extractor fan for twenty minutes after bathing. Less humidity means less mildew on the sealant and less film on the shell.
Rinse the tub after using bath oils, salts, or heavily fragranced bubble bath. These leave a residue that turns to scum, and the oils leave the surface slick enough to be a slip risk.
Worth knowing before specifying one
One-piece construction removes the grout and joint maintenance that comes with a tiled surround, which is a real advantage in family bathrooms, hotels, and serviced apartments where cleaning is done quickly by rotating staff. The trade-off is that the surface has to be treated as a finished surface rather than a hard one. Housekeeping teams used to ceramic tile will reach for the wrong product by default, and a short written note on which cleaner to use prevents more damage than any amount of scrubbing instruction.
For projects where maintenance passes to a changing team, acrylic with a factory gloss and a smooth, low-curve interior is the easier specification. Fewer molded soap dishes and fewer tight radii mean fewer spots where film builds up, and a cloth reaches every part of the shell without a brush.
Common questions
Is vinegar safe on a one-piece bathtub? Yes, on acrylic and gelcoat, when diluted and rinsed afterwards. Keep it off natural stone and do not let metal fittings sit in it.
Can I use a melamine sponge? Occasionally, soaked, and with light pressure. It is a fine abrasive and will dull the gloss if it becomes a weekly habit.
How often should a one-piece bathtub be cleaned? A quick rinse and wipe after the last bath of the day, plus a proper clean once or twice a week.
Why does the tub still look dull when it is clean? Almost always fine scratching from abrasive cleaners or a film of dried cleaner. Drop the powders, move to a pH-neutral liquid, and dry the shell after each use.
Does the tub need waxing? Not strictly, but a thin coat of acrylic-compatible wax once or twice a year makes film easier to lift and helps water sheet off instead of spotting.
A one-piece bathtub will outlast most of the fittings around it if the surface is left alone. Gentle cleaner, soft cloth, full rinse, and a dry-down afterwards. That is the whole method, and it is faster than the scrubbing it replaces.